March 12, 2019 Progress
Starting off with some exercises:
Rewatching the video by Volen CK, I wasn’t sure what to do first but starting off with the simplest shape may be good to start with! So I went from cube -> asaro head -> And soonTM, desaturated pictures.
Try One:
I used a more translucent brush to begin with but later switched to a harder edge brush.
[Original image:]
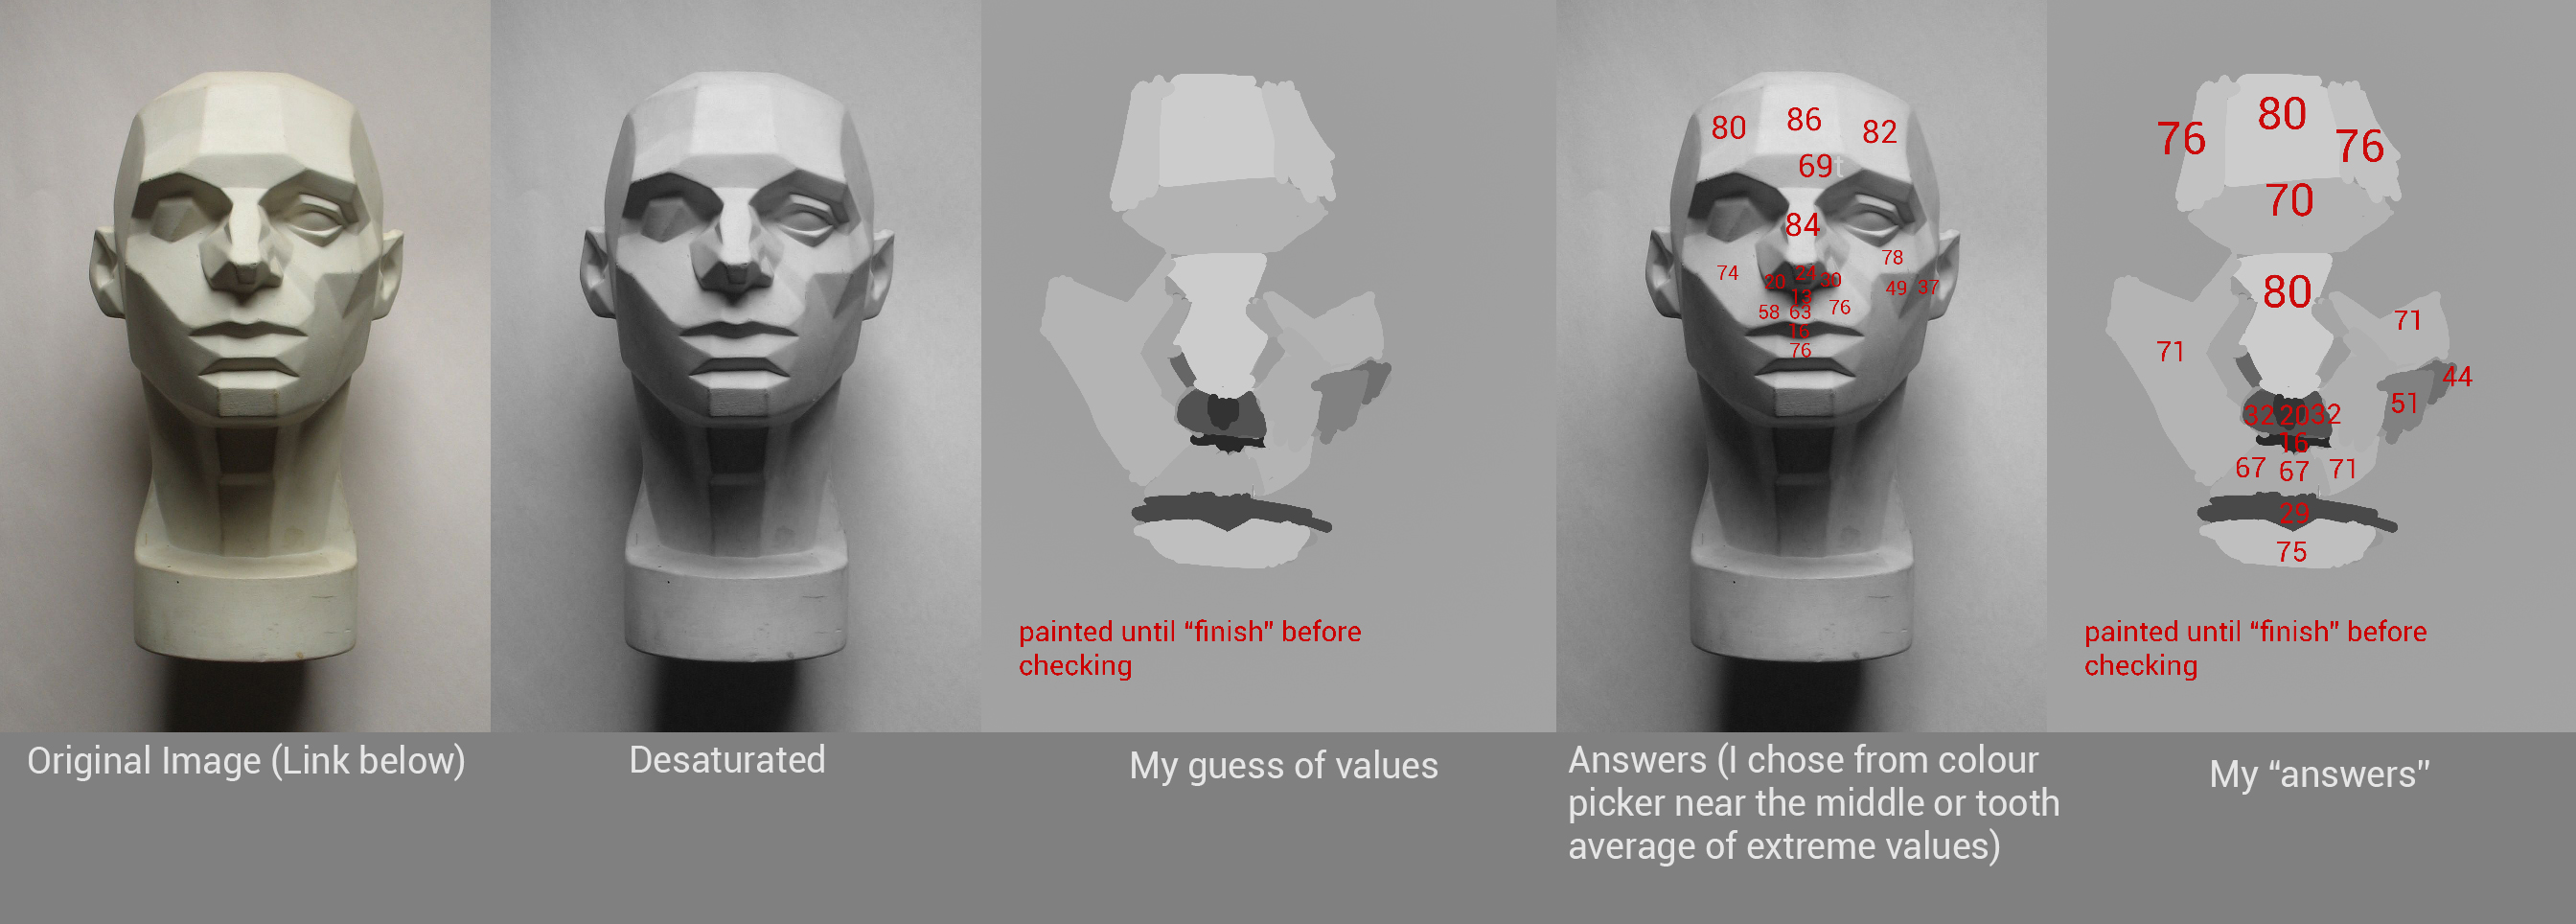
A method I’m using to “memorize” the scale is to look at the asaro head, guess the value, draw with that percentage then change accordingly. After when I feel confident enough (which is not always the case, but I go as “close” and gut-instinct as possible) and colour pick it. I think it is helping me commit things to memory and to not always compare swatches (which is what i have been doing but I want to be able to do it intuitively soon, building from observation). Perception/comparing may not always work as the backgrounds are different.
I changed any values that were off by a lot to match the original image and kept any that were only a few percentages off.
Try 2:
My head started really lopping off to the right alot. Although my focus now is mainly on getting the correct value and not getting the proper form just yet!
Original Image:
Try 3:
I went in painting everything from my own guessing before checking it all at the “end”. I never completed the whole head however!
paint over and find giant shapes
-look at photo then desaturate and cutout (once done observing – paint over to what you think values will look like)
I later watched 2 other videos that helped me further my understanding a bit more.
_____’s talked about the problem of relativity which I wondered before on how backgrounds change my perception. So I kind of have to just keep practicing.
This one taught me more on what values look “good”. Also it gave me some ideas on how to do value studies as well.
So I collected some images and begane to use their method of desaturating and using the cutout filter to see the formed values.
I avoided images like these as they are very overly saturated, while attractive to the eye, does not have a good balance of value, which was also mentioned in the example in the video. The cutout version was quite unclear even after playing around the settings beyond the recommended values, while I can outline the girl, her silhouette fought a lot with the background ( I think ).
So I chose these 3 to start off with and desaturated them, made the cutout filter, turned off the filter, and drew ontop of the desaturated image to see if I could figure out the values.
In the future I’ll do things side by side instead of right not top to practice drawing what i see (kind of). But for now I was interested in swatching the correct values. I would then compare it to the filter version to see how accurate my values were and whether I placed it similarly. I don’t think I’d use the filter gallery as a definite answer key, but it helps me see the value shapes more simply. In the future I will combine the squint method as well, which lets me see more values compared to the cutout while remaining simple. RIP my eyes though…
(This video mentioned how to “combine” values, so this cutout method seems like a good way to see the “answer” for an image’s value).
Try 2 (I didn’t say try 1 and it wasn’t exactly safe for work image x))
The colours are off and the blob selection wasn’t exactly great. Here’s the fixed up version by placing the answer key side by side, first trying to change the swatches. Then colour picked to fix the colours.
I will eventually need to be able to just see something and picture the values in my head… so that will be interesting.
(photoshop cut-out)
Number of Levels 3-5
Edge Simplicty 6-8
Edge fidelity 1
Good values (video)
I guess the main three things I have figured out for values are these:
-see value
-being able to place values
-override relativity
